Detailed Upload Steps
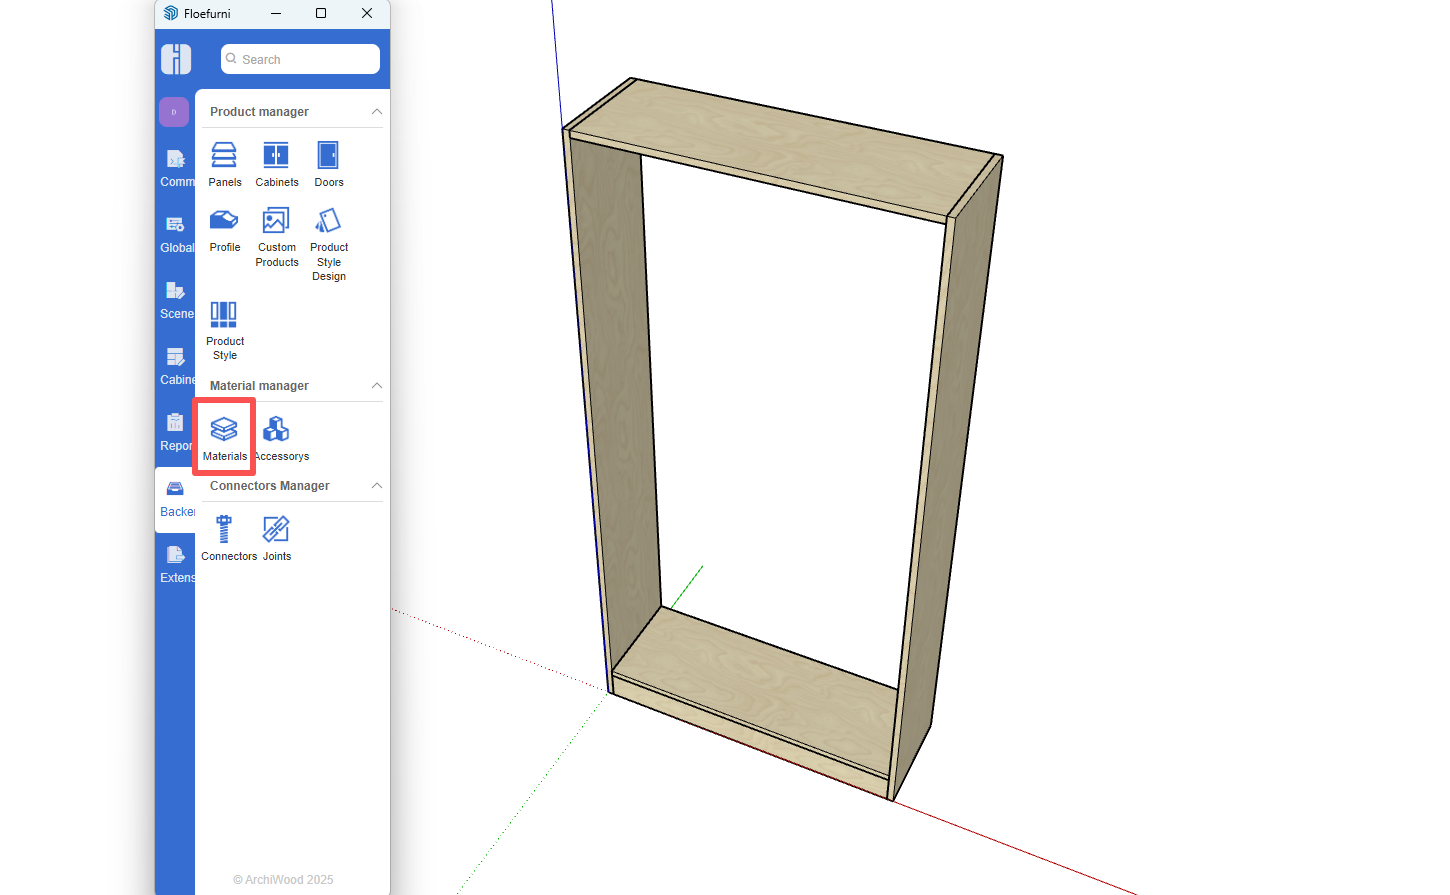
Open the Material Management window
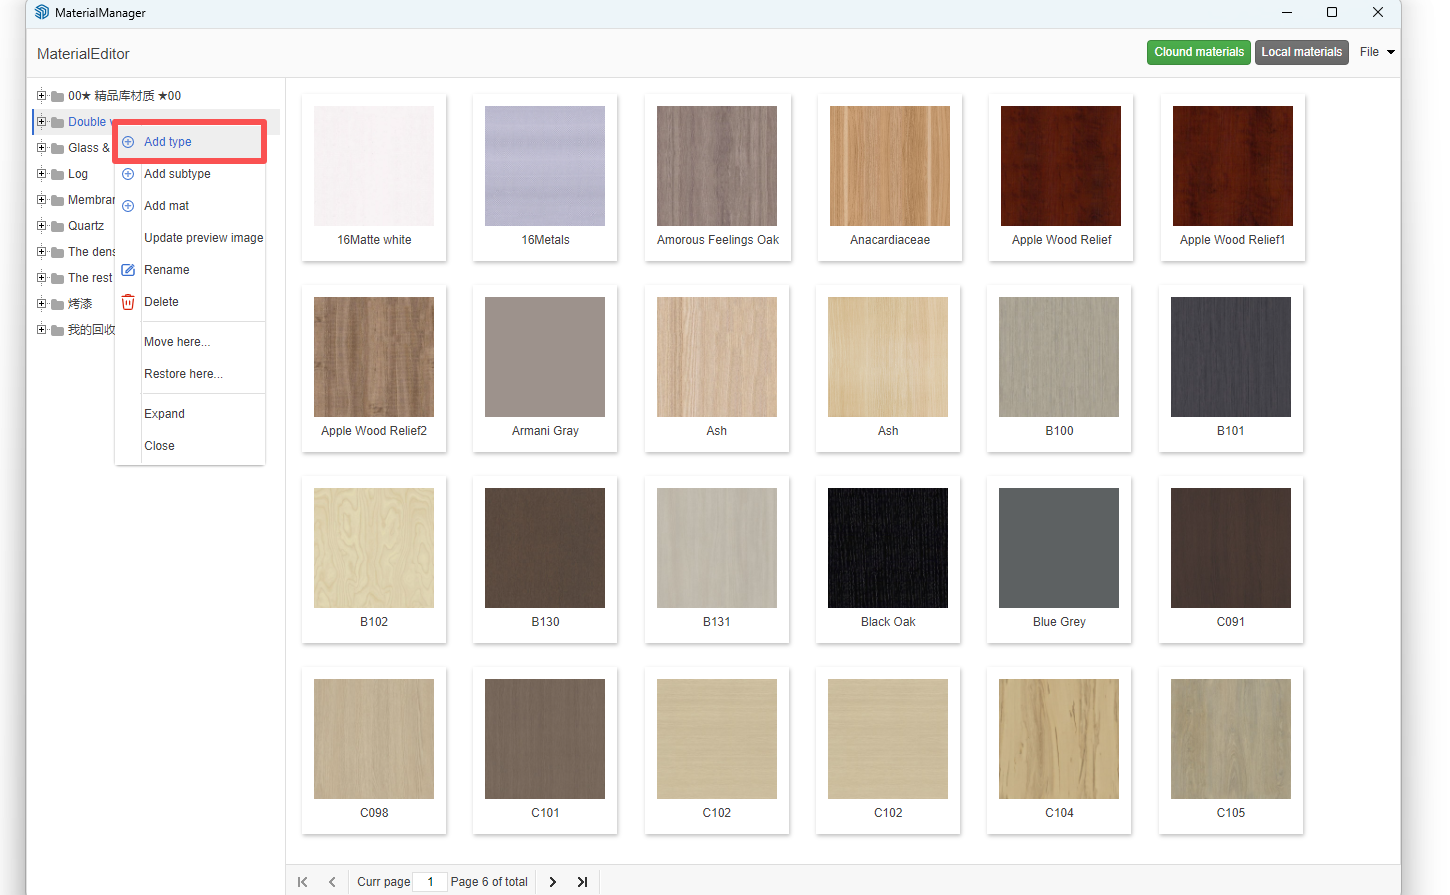
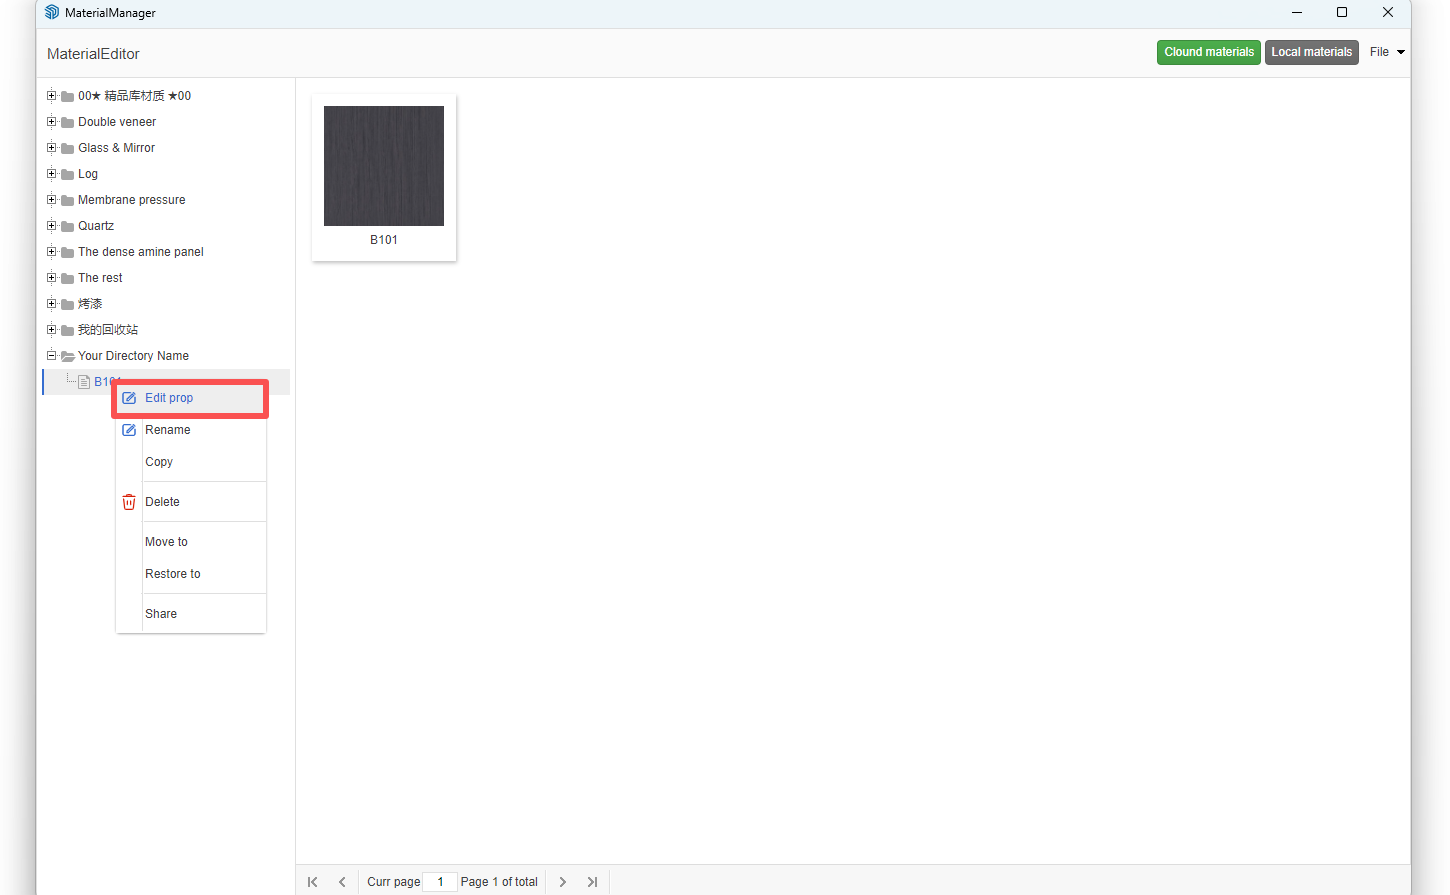
In the right-side window, right-click on any node to create your own directory structure
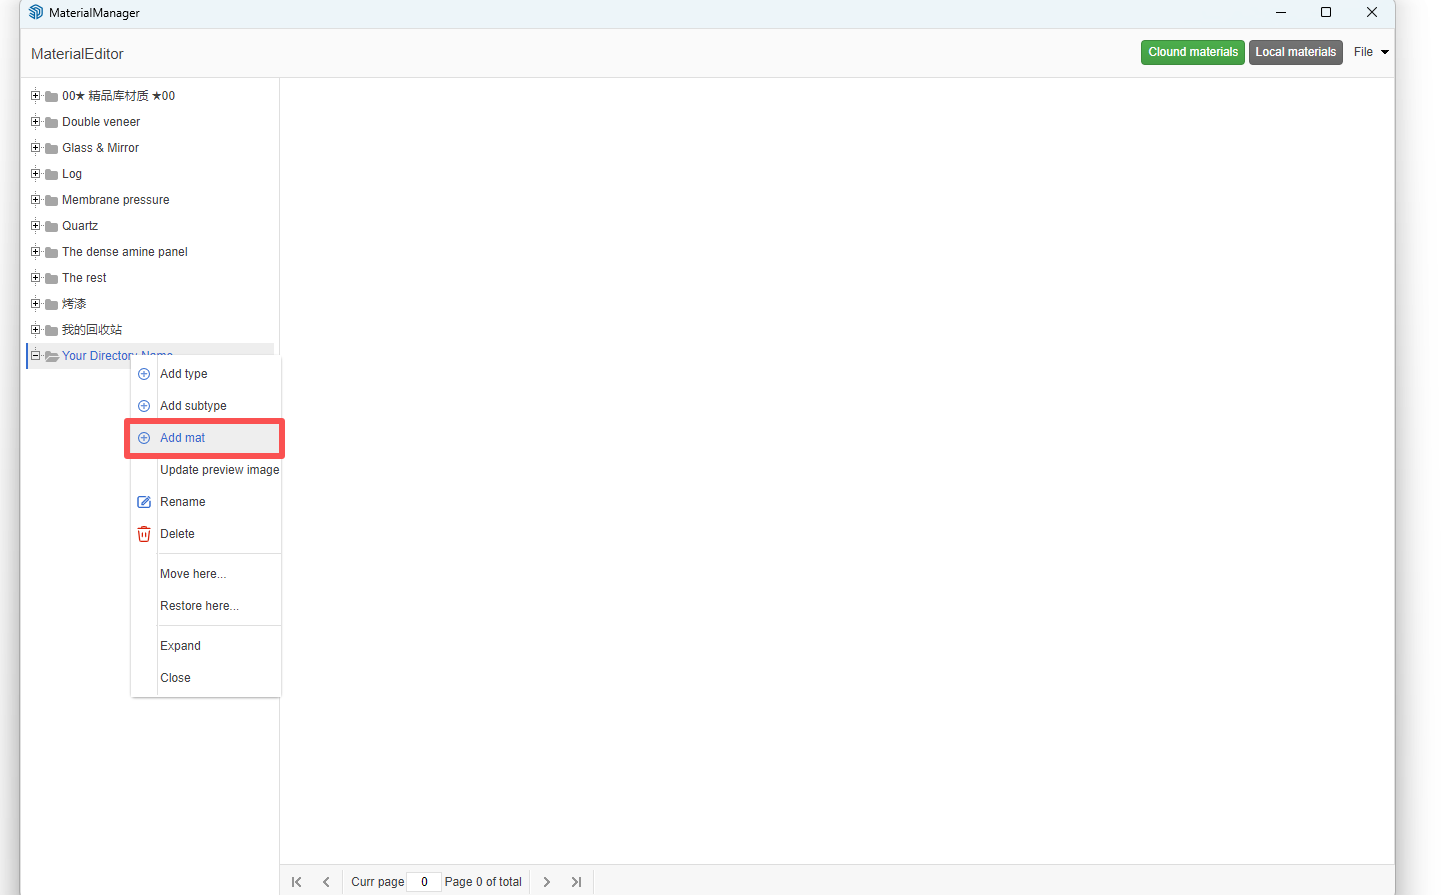
Right-click on your directory and select "Add Material"
-
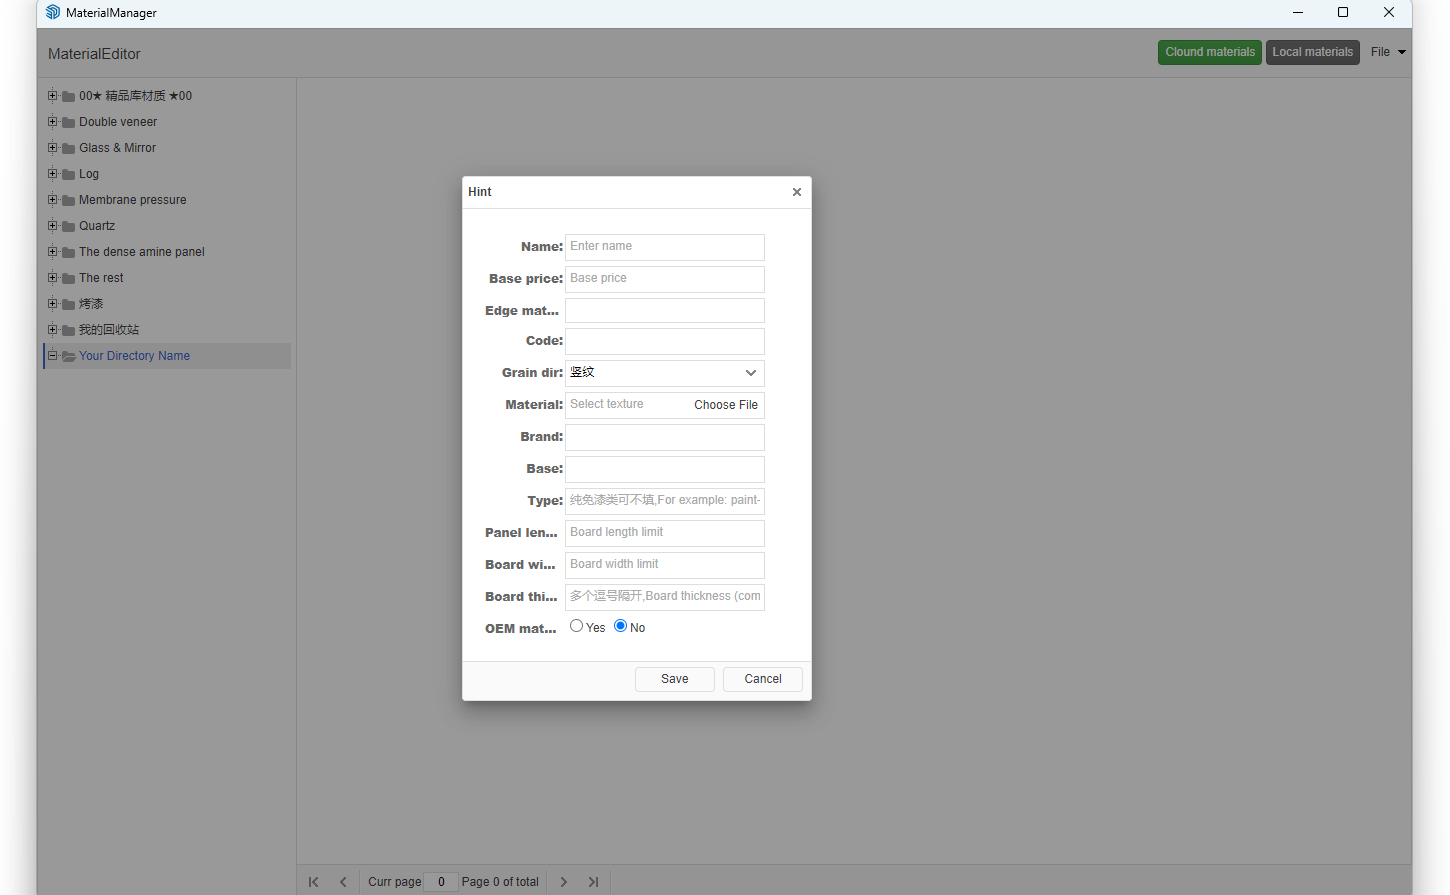
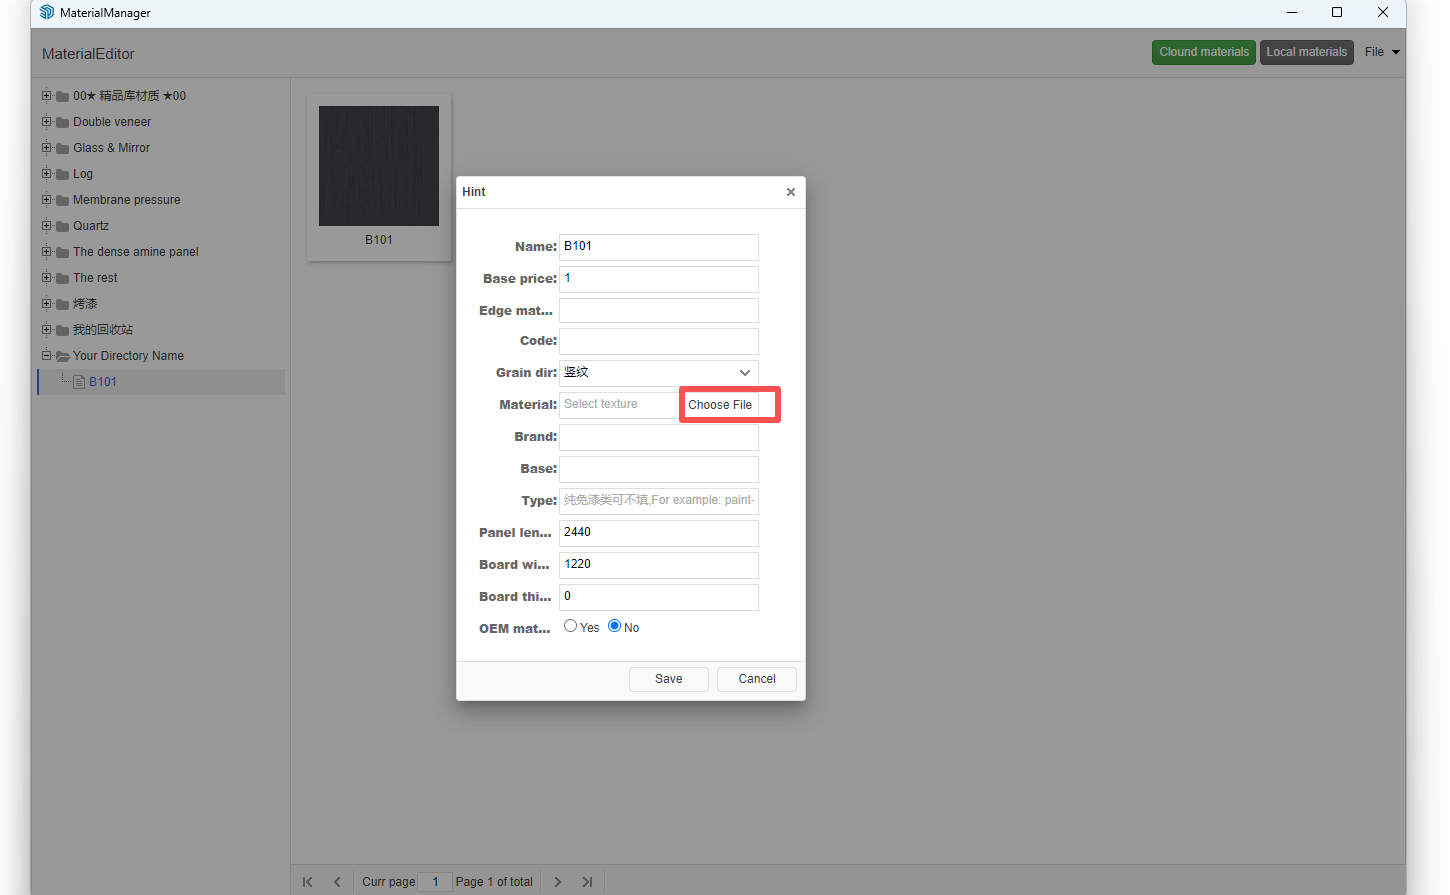
In the pop-up window, enter your material name and click the "Choose File" button to select your material texture.
Note: Material textures support formats like .jpg and .png. Recommended image size is 512*512 pixels with 72 DPI resolution.
-
Important Options:
- Texture Direction: Match with the image texture direction (e.g., horizontal pattern = "横纹", vertical pattern = "竖纹")
- Base Material: Fill if the base material is fixed, otherwise leave blank
- Type: Fill if the material type is specific (e.g., paint, veneer) and fixed, otherwise leave blank
- Panel Length & Width: Fill if material dimensions are fixed, otherwise leave blank (may affect frontend design checks)
- Panel Thickness: Fill if panel thickness is fixed, otherwise leave blank
- Outsourced Material: Mark "是" if outsourced, otherwise "否" (avoid setting as outsourced unless necessary)
Solutions for Material Upload Errors
If material texture images are too large, it may cause display issues or file lag. Follow these steps to correct:
First, process the image for seamless tiling. Refer to video tutorial: https://www.bilibili.com/video/BV1Gf4y1X7qU/
Open Material Management window, find the previously uploaded material, right-click and select "Modify" (Do NOT delete, modify directly!)
Click the "Choose file" button and reselect the processed file (seamless texture, 512*512 size), then click Save
Open SketchUp's Material Editor (Window menu > Materials)
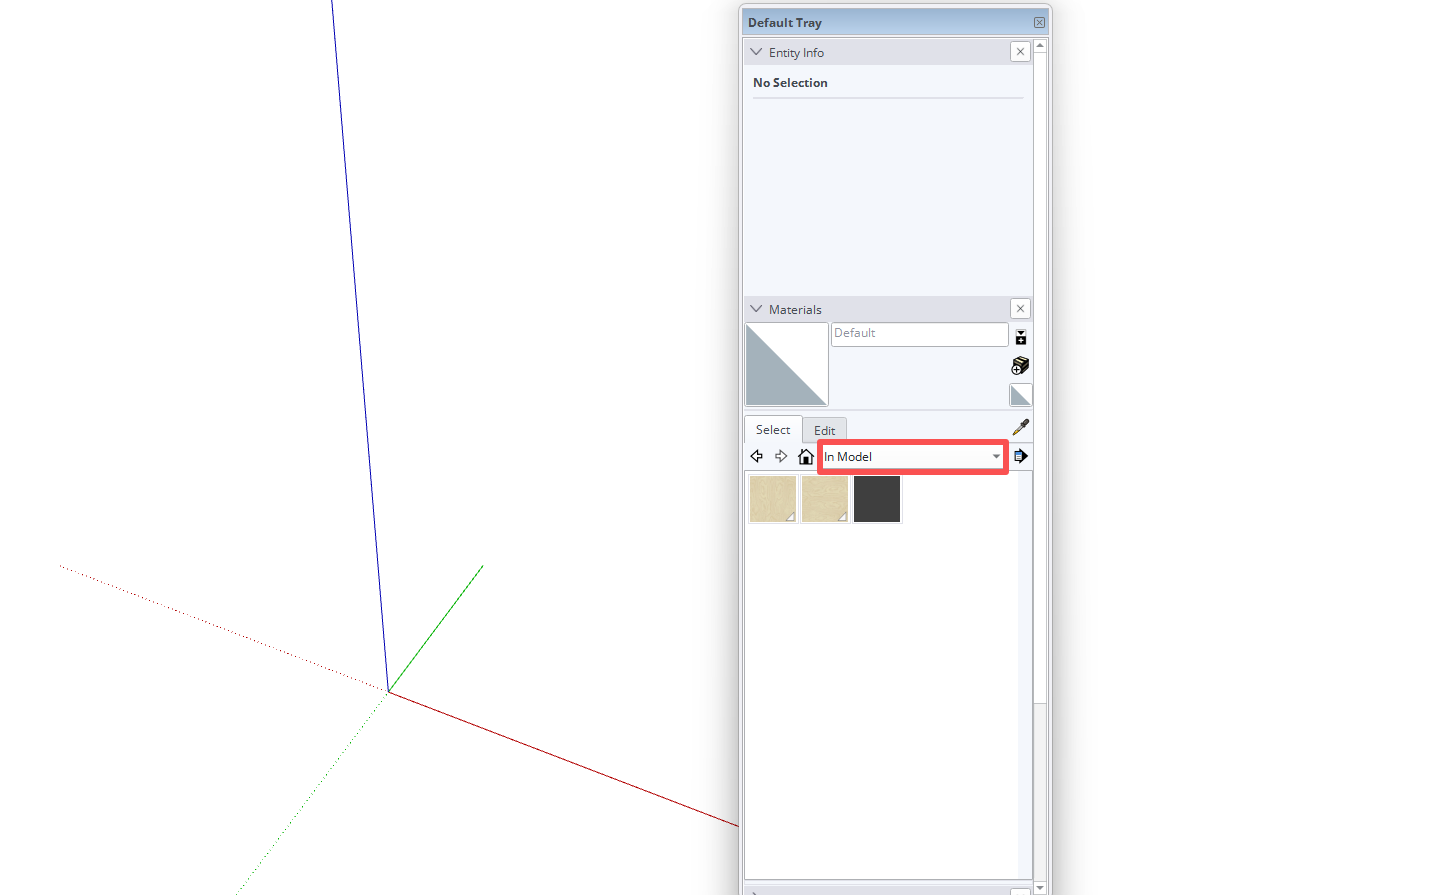
In Material Editor, select the previous incorrect material preview, right-click and delete
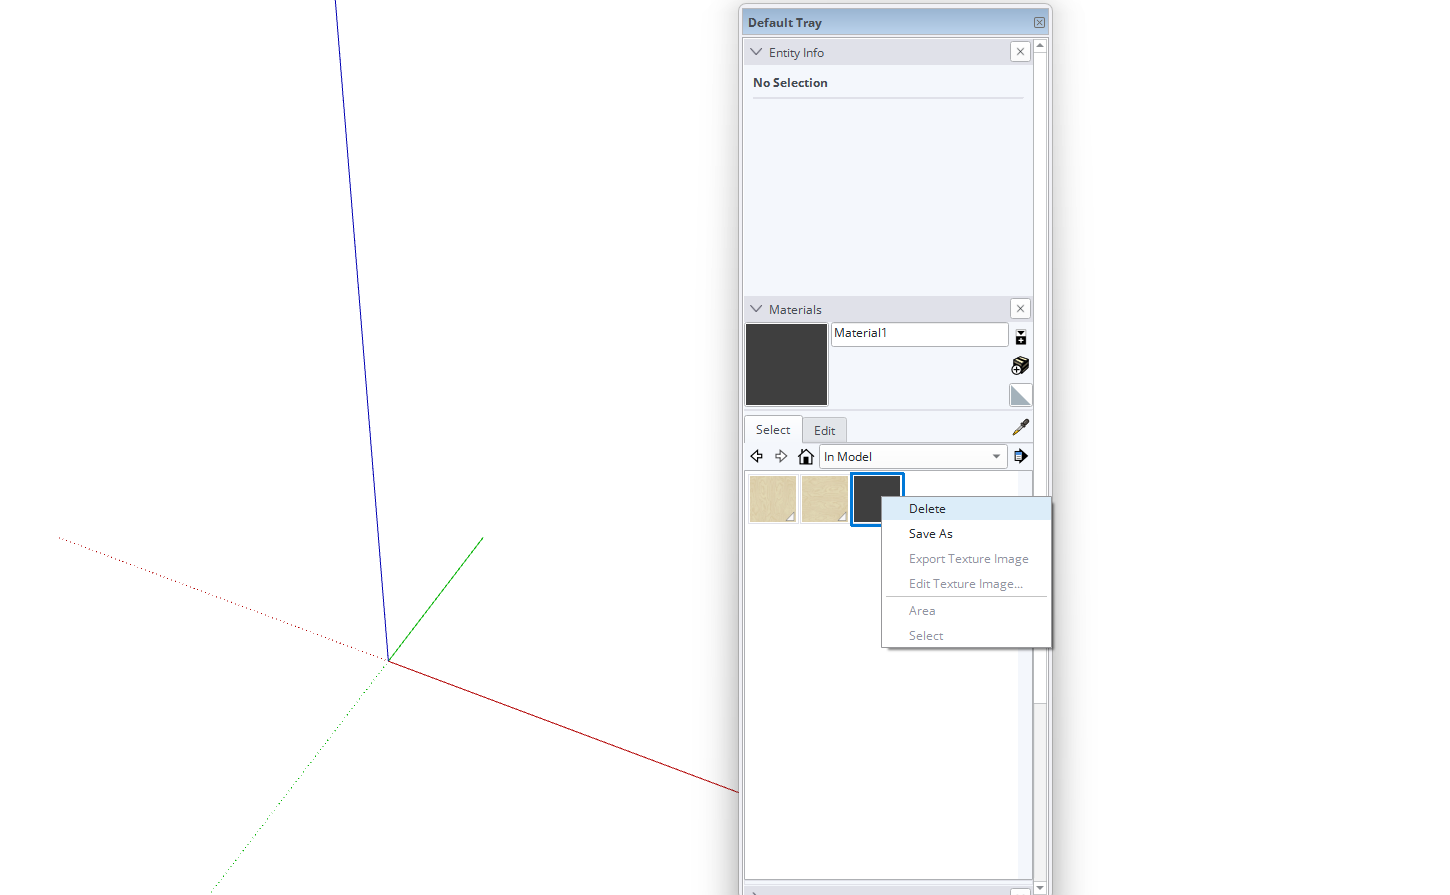
After completing these steps, the current cabinet material will appear white. Open Zhumu Product Library, select the modified material, and reapply it to the cabinet.