Why Create Quick Panels
The Zhumu Furniture Design System comes with default quick panels that include material information, edge banding information, and hardware information. However, these details vary between different companies. Therefore, we need to create our own quick panels.
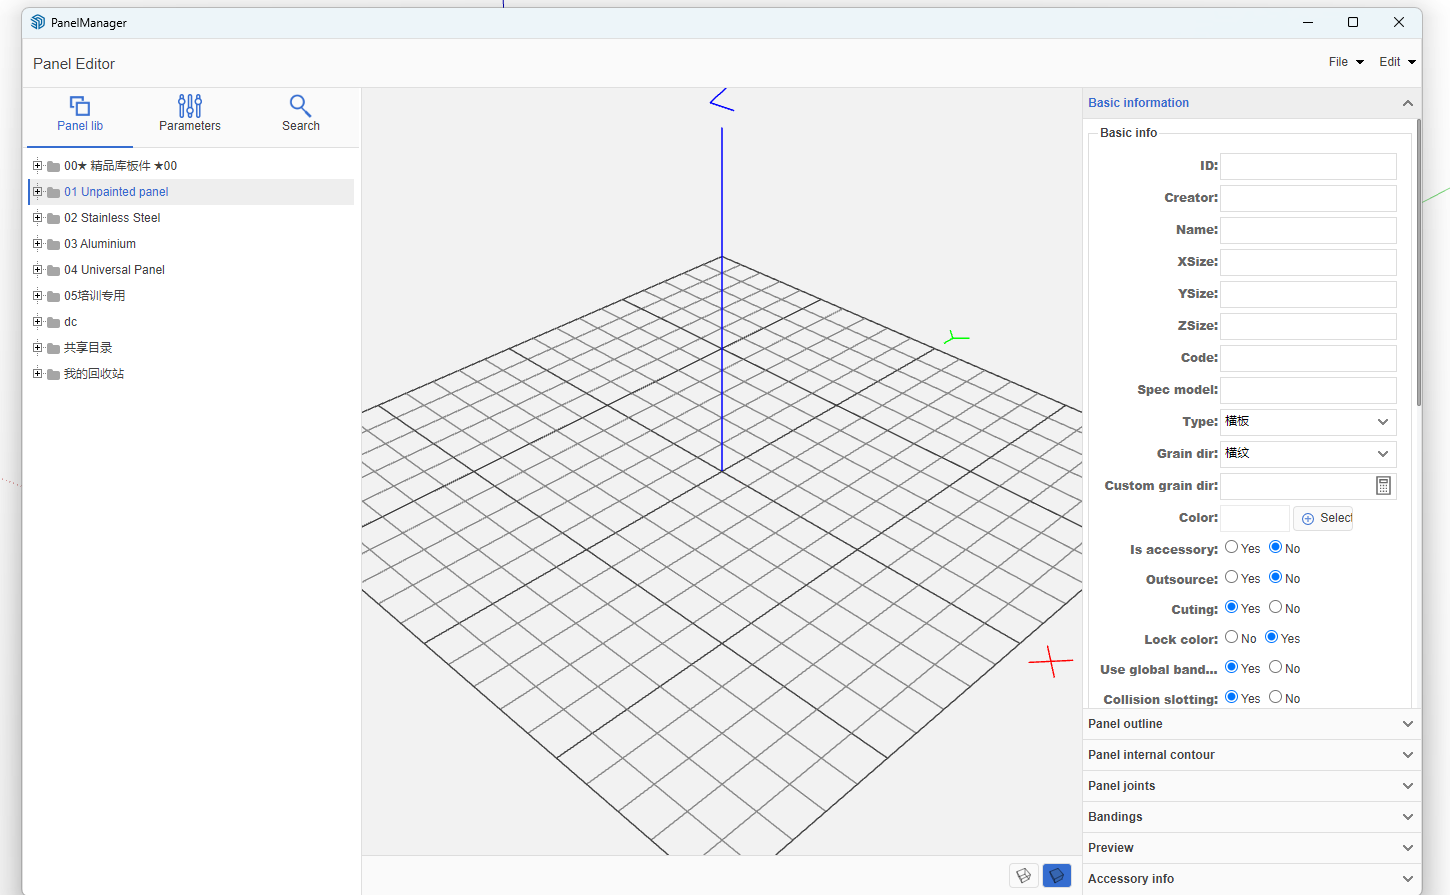
Opening Panel Management
- Open the Zhumu Cloud Platform and click the icon shown below

- Open Panel Management
Creating Panels [Using Standard Panel as Example]
-
Create your own directory folder
- In the right-side panel list, click any node -> Right-click menu -> Add Category
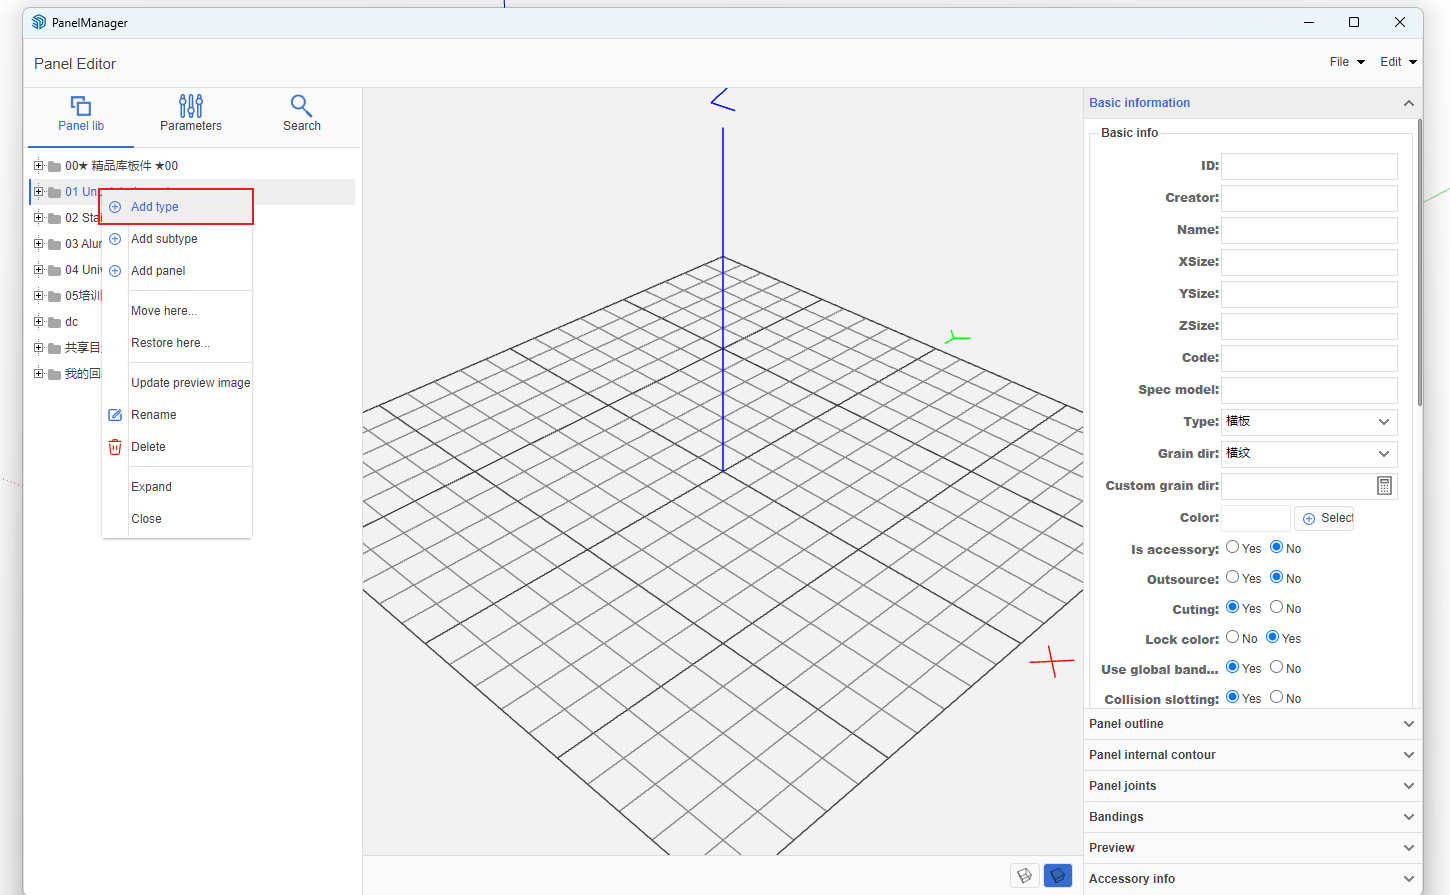
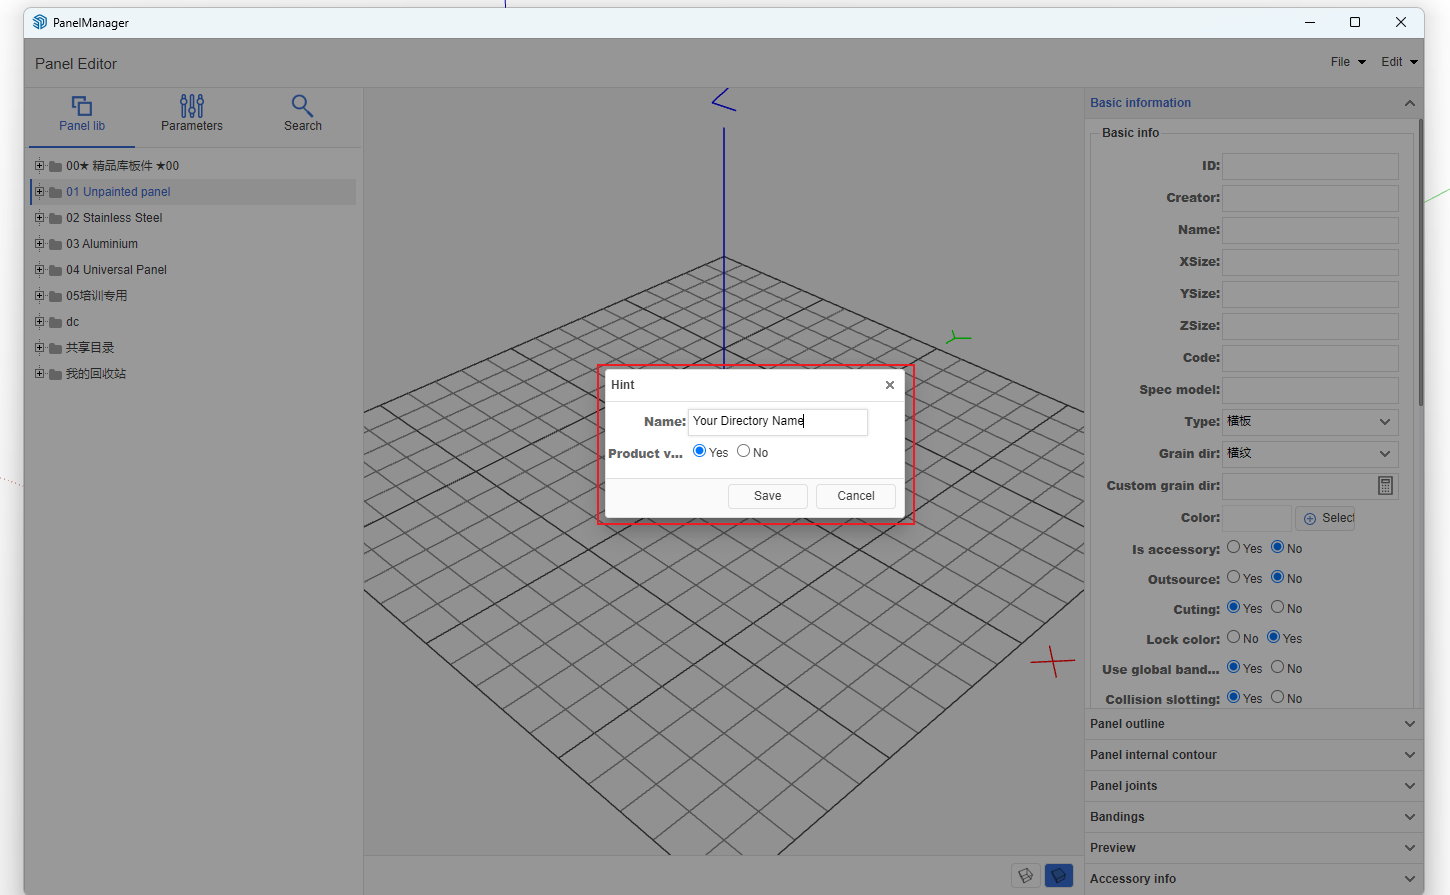
- Enter the category name [Zhumu recommends using your company name]
-
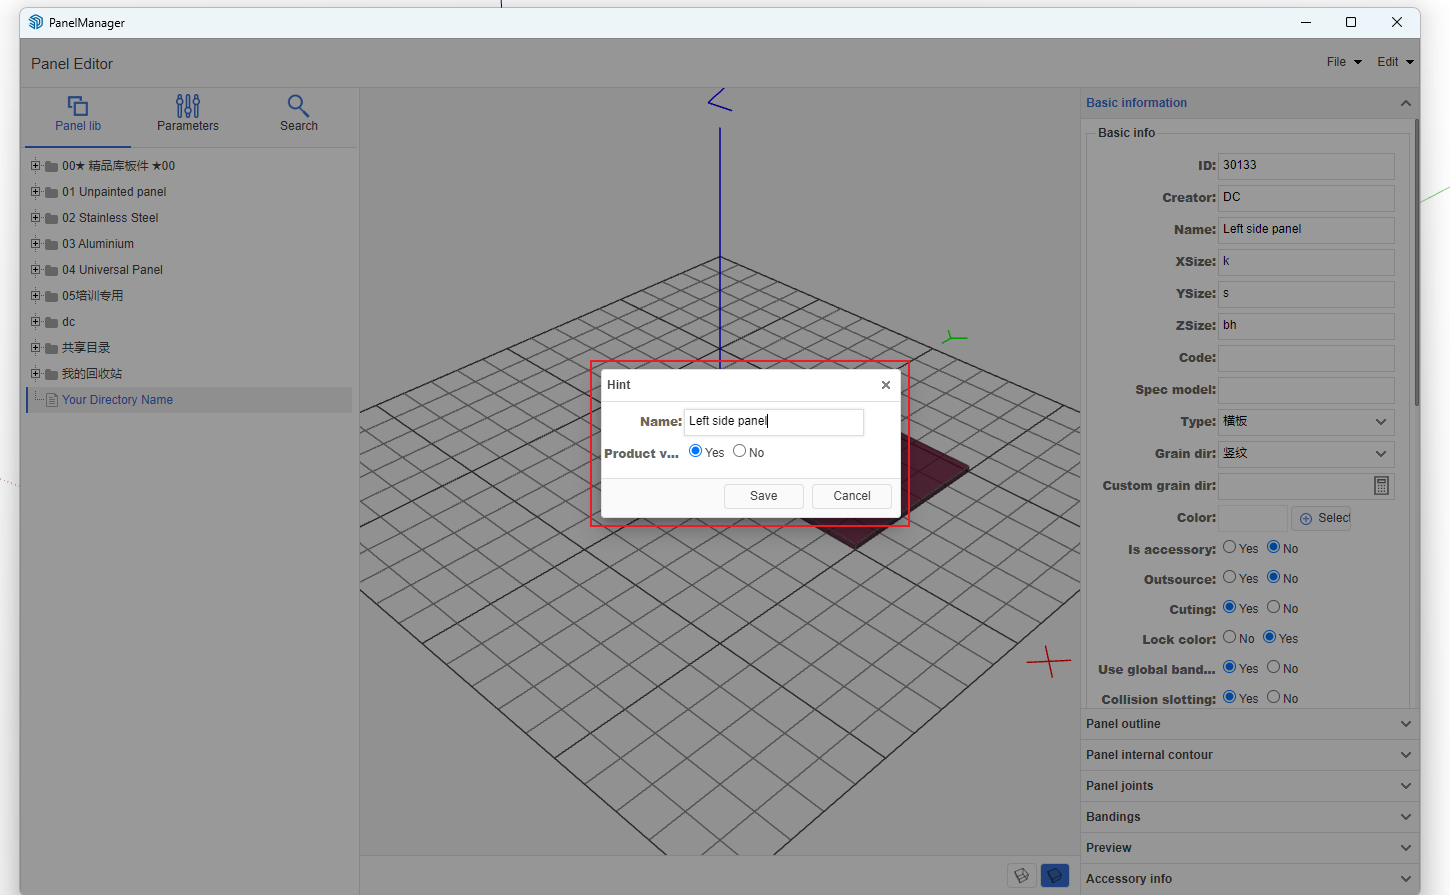
Add Panel
- Click the created category node -> Right-click menu -> Add Panel
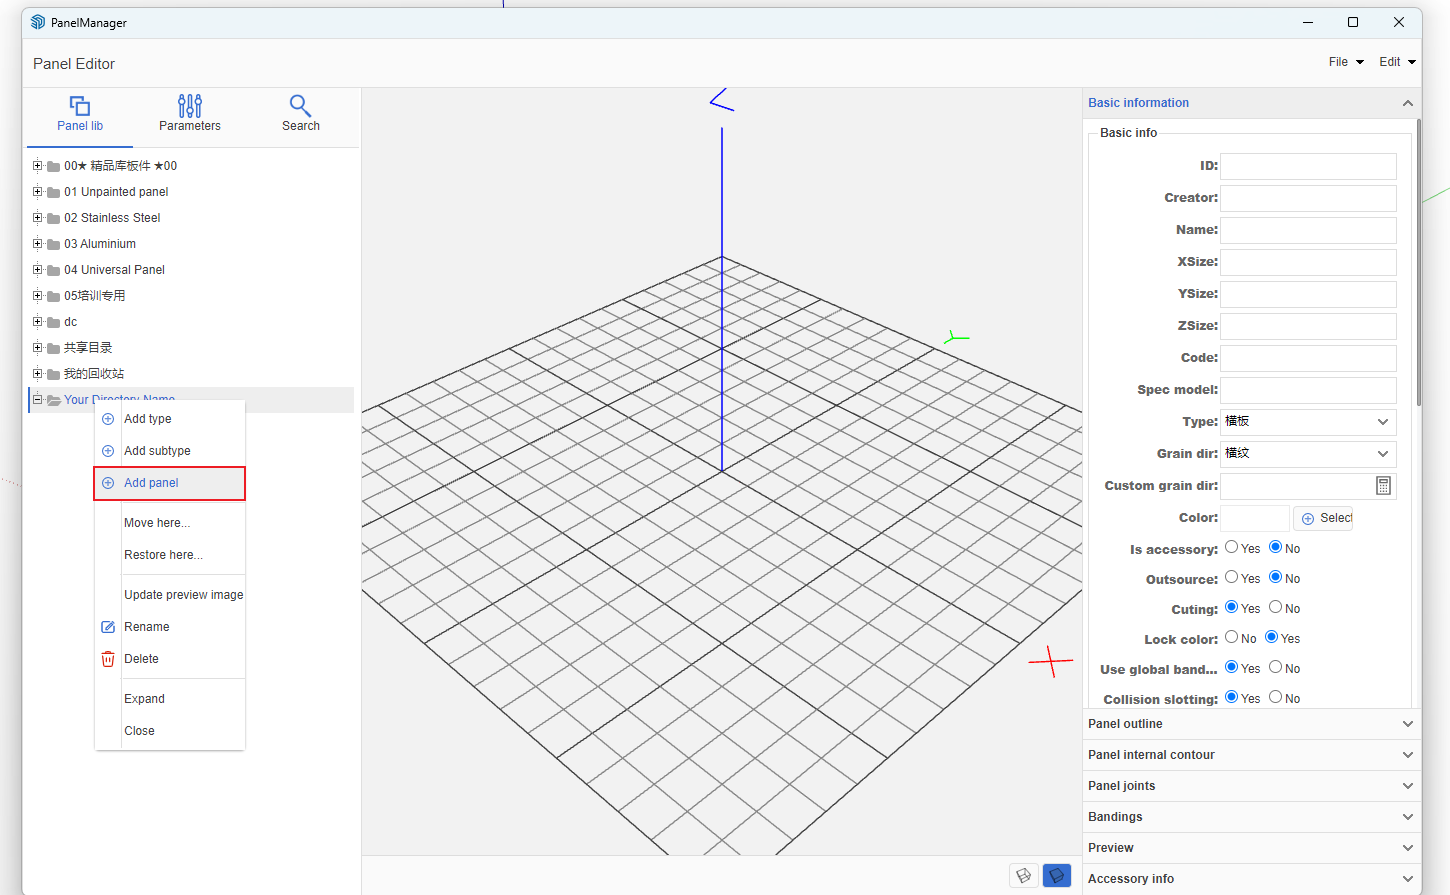
- Enter panel name
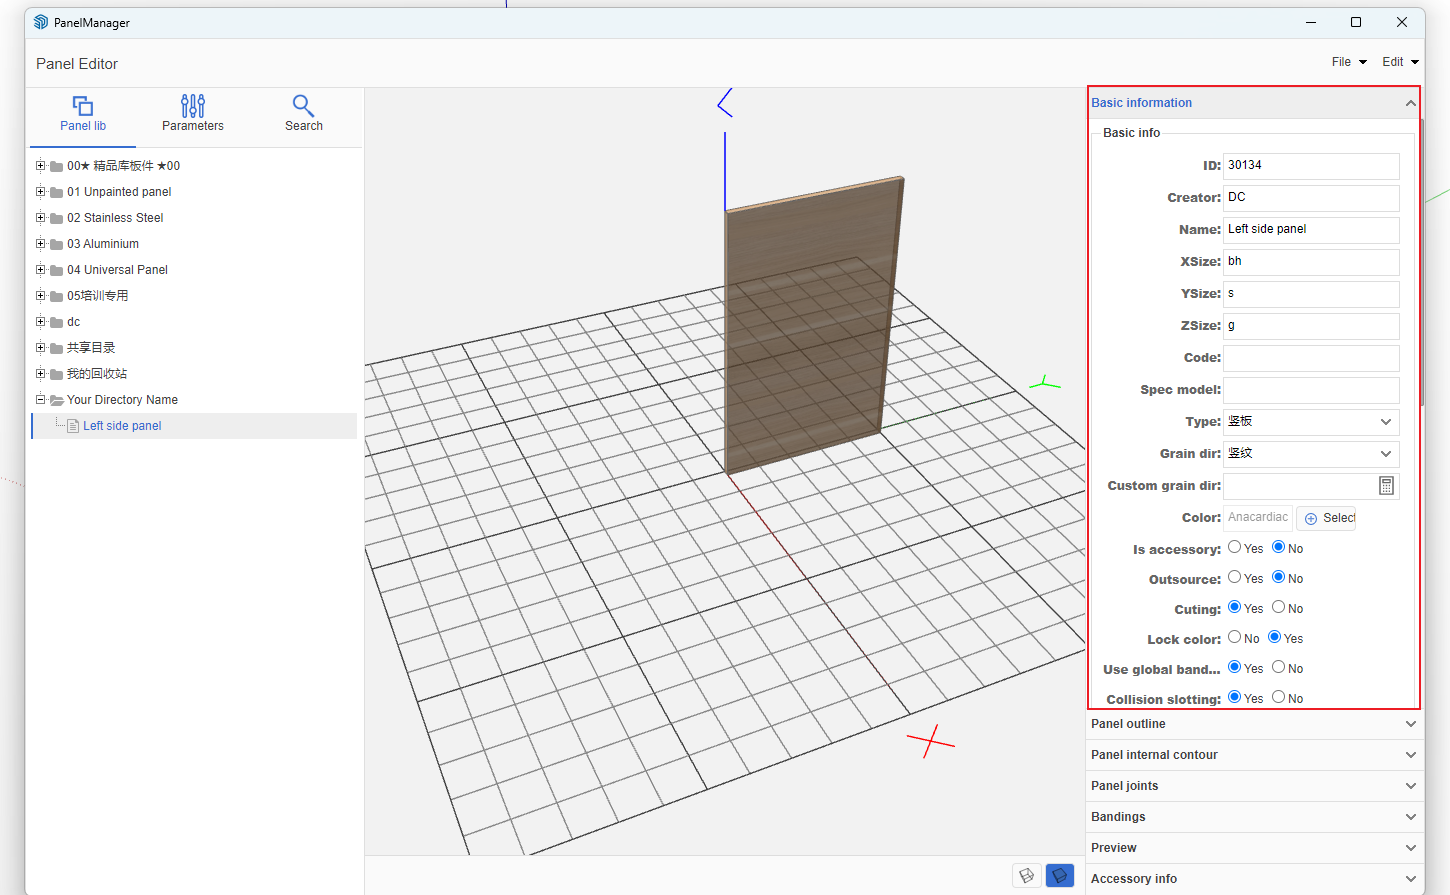
Modify Basic Panel Information
-
Panel type is very important:
- Left/right side panels select [Vertical Panel] type
- Top/bottom panels and shelves select [Horizontal Panel] type
- Back panels select [Back Panel] type
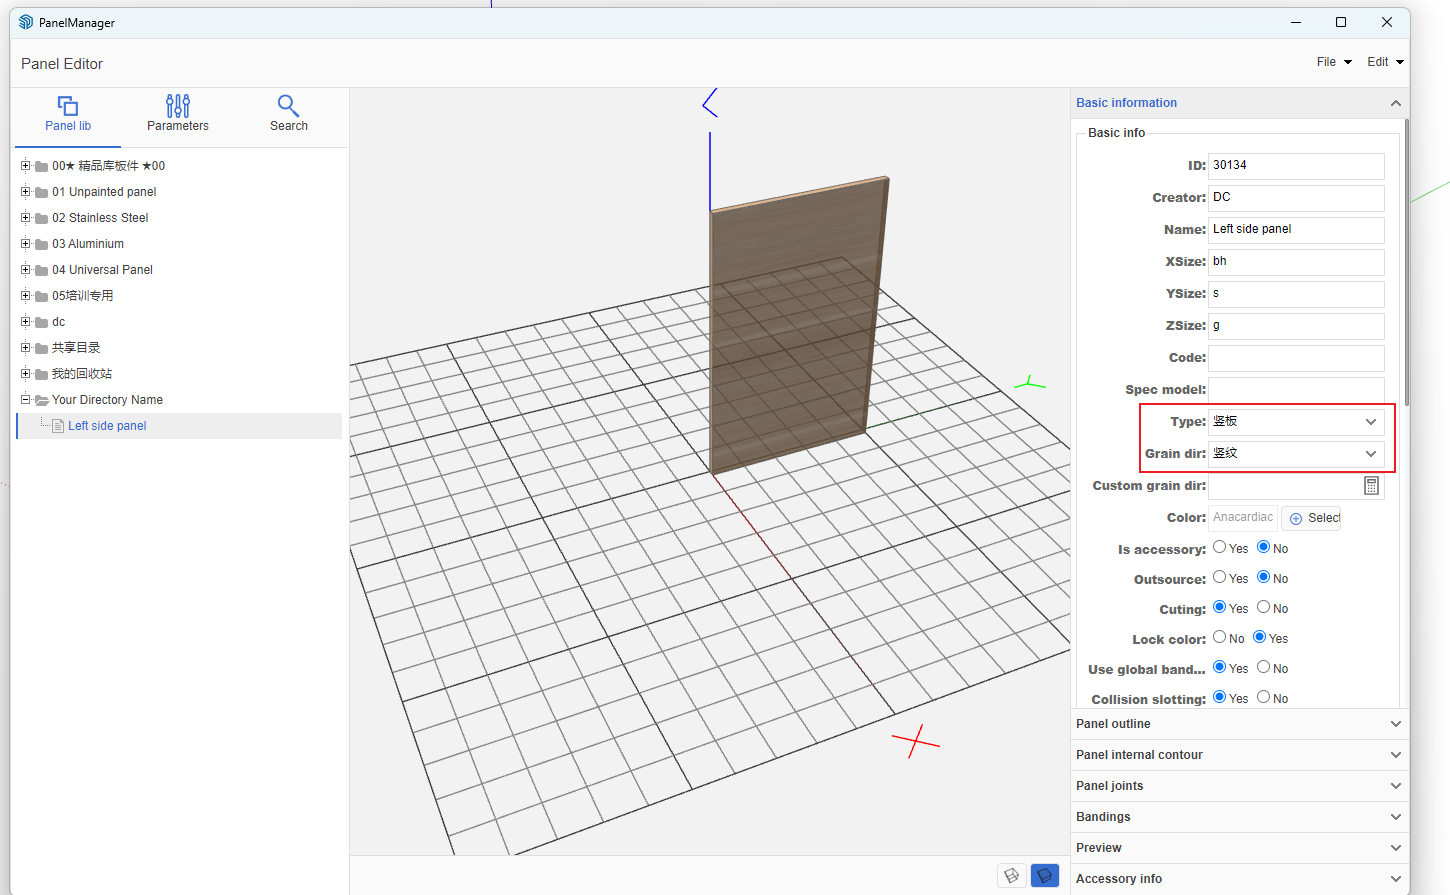
- Grain direction can be modified according to actual requirements
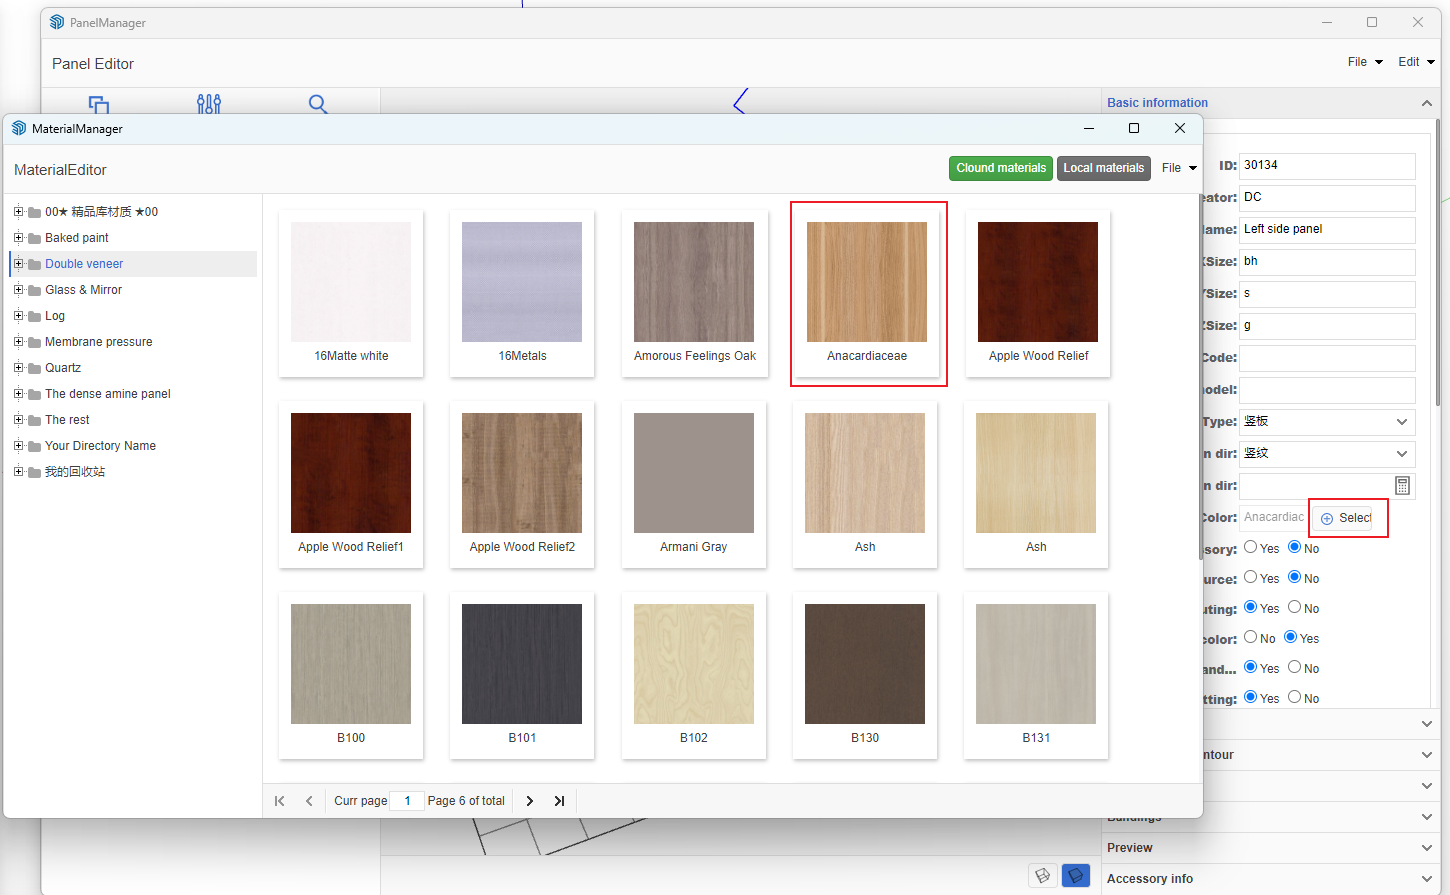
- Texture: Click [Select Texture] button, then click any texture in the pop-up dialog

- Other options can be modified according to actual requirements
- After modification, click the Modify button at the bottom
-
Edit Hole Position Information
- Click [Processing Information] tab

- Under Hole Position Information, click Add button and select the connection method created in Beginner Tutorial 4

- After selecting the connection method, a new row of data will automatically appear in the hole position information, double-click to edit

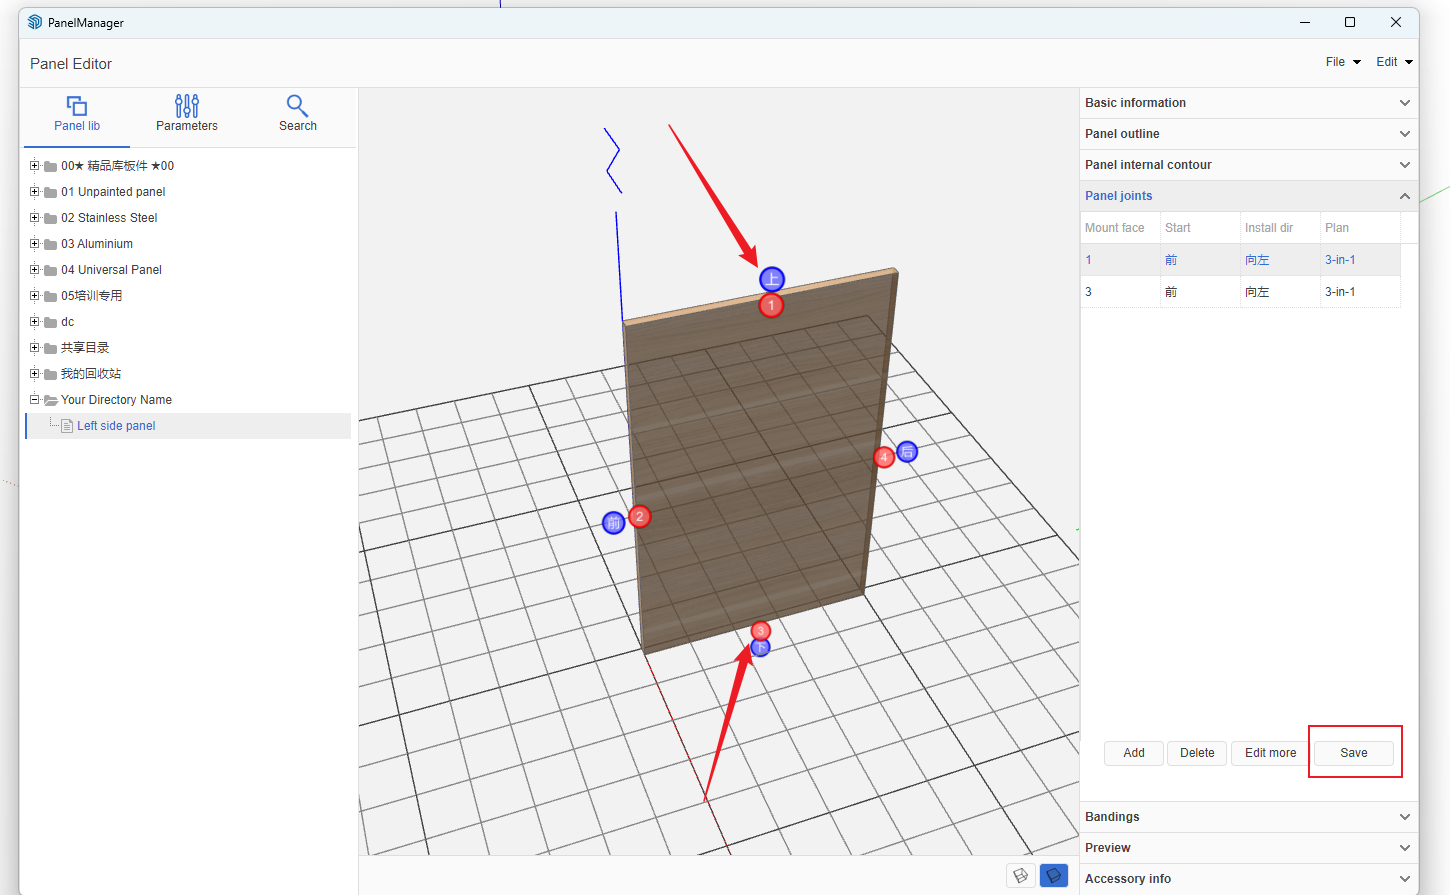
- Hole Position Information Explanation
- Installation surface is set according to the red circle numbers on the right. Generally, a panel has 4 surfaces. In this example, for the left side panel of a cabinet with sides enclosing top and bottom, hole positions are set on edges 1 and 3
- Starting point is the drilling starting point, set according to the blue circle labels
- Installatio1n direction determines which surface the connector lock hole is set on. In this example, it can be set to left or right
- Front/back margin can be set to 0 by default
- Set "Whether to Count" to Yes
- After setting, click the Save button below
- Completed Hole Position Information
-
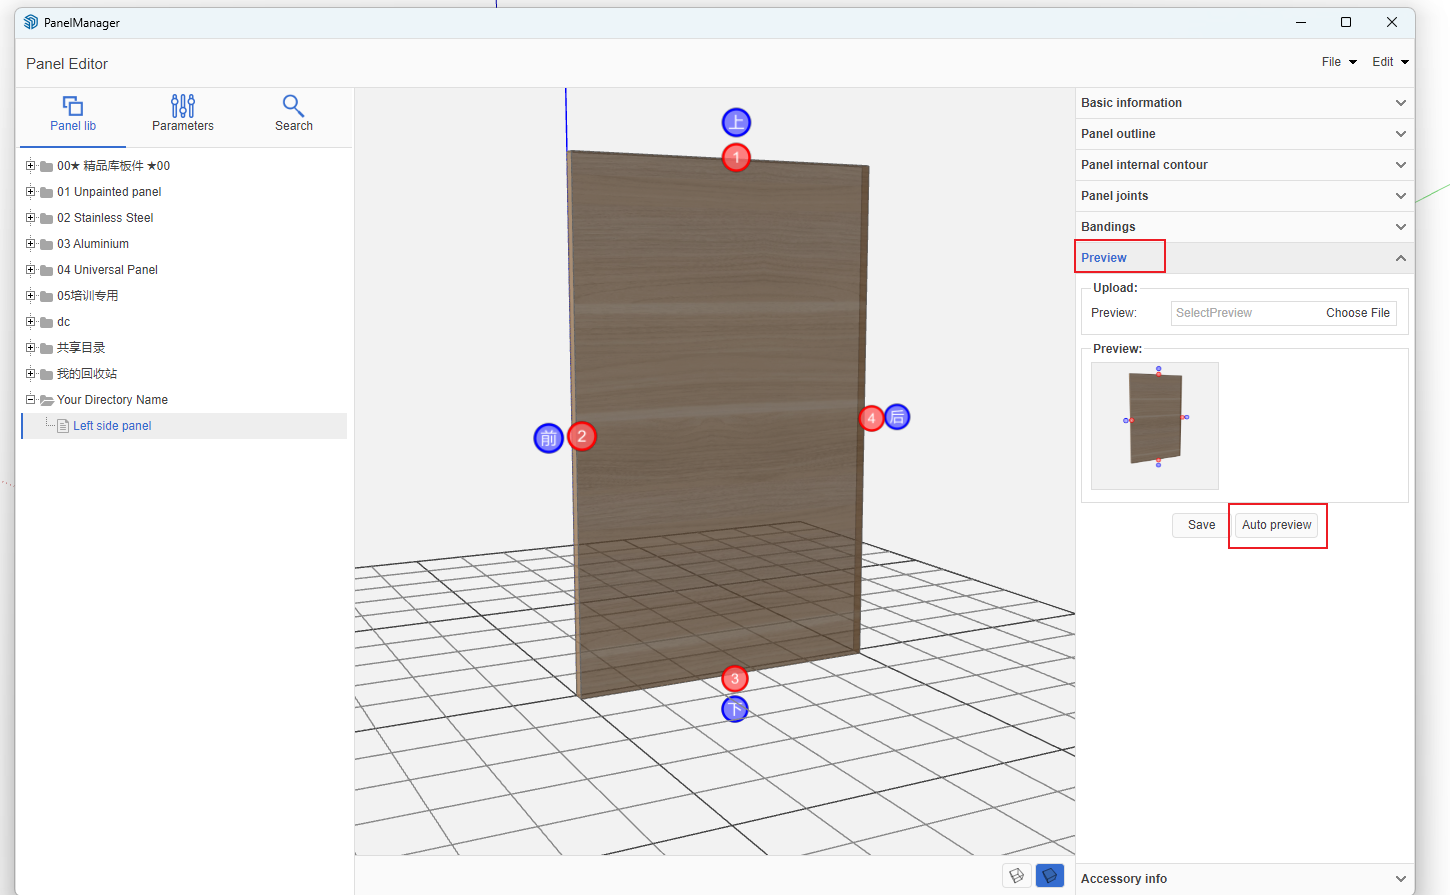
Create Preview Image
- In the Processing Information tab, first click [Panel Outline] tab
- Then click [Preview Image] tab
- Adjust the panel angle on the left
- Click "Automatically Get Preview Image"
Create Other Panels Following the Above Process
- Right Side Panel
- Top Panel
- Fixed Shelf
- Adjustable Shelf
- Bottom Panel
- Thick Back Panel
- Thin Back Panel
- Toe Kick Panel
- Center Vertical Panel
- Back Panel Reinforcement Strip
- After creating the above panels, right-click on a panel -> Set as Quick Panel
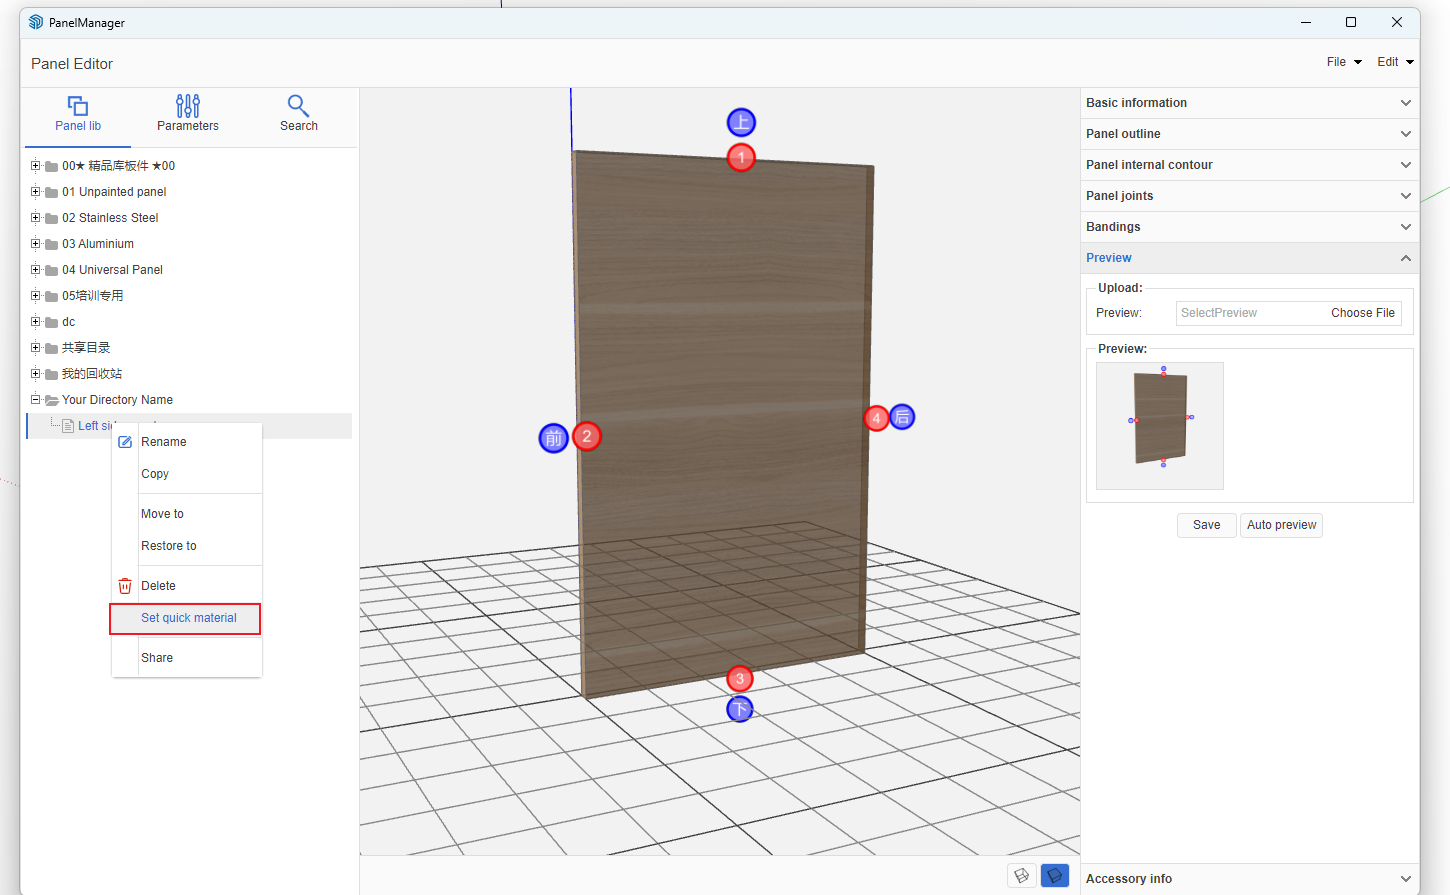
- In the pop-up dialog, select according to the panel type and save [this will save the quick panel data locally]. Save for each type of panel.

- Detailed Video Tutorial